By Culinary.net | Contributor
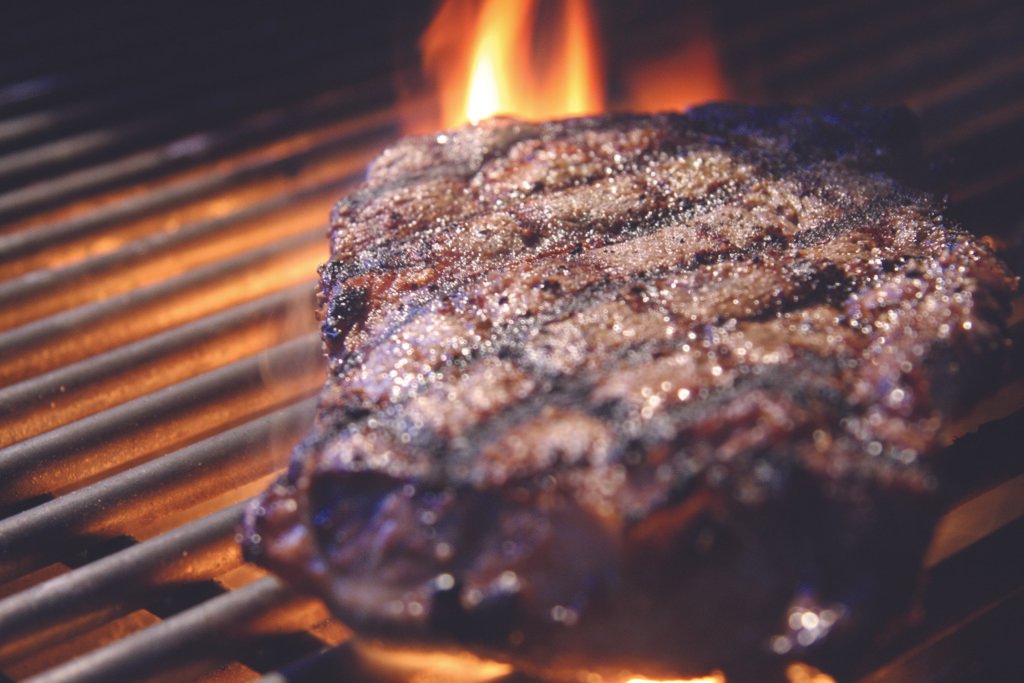
There’s nothing quite like the sound of a steak sizzling on the grill, a hallmark of summer that brings forth flavors that are hard to surpass.
Before you ignite your grill, keep these five essential tips in mind for crafting a steak fit for a chef:
Prepare Your Cut
While preferences (and prices) may vary among cuts like sirloin, ribeye, or T-bone, the method of preparation remains quite similar. Aim to slice your steak to a thickness of 1/2 to 1 inch for optimal cooking. Moreover, letting the steak sit at room temperature before grilling helps it to cook evenly. Placing cold meat on hot grates does two things: it cools down your grill and prolongs the cooking time for the steak’s interior.
Add Some Salt
You can use your favorite spices, but keep in mind that a high-quality steak often only needs a simple seasoning – a dash of salt will do the trick. Apply the salt anywhere from 30 minutes to a few hours prior to grilling; this aids in moisture retention and enhances flavor.
Aim for High Heat
Successfully grilling a steak isn’t solely about having a roaring fire. It’s best to set up a two-zone fire: one area should be hot (for direct heat) while the other is moderately warm (for indirect heat). This technique allows you to achieve a nice sear over the direct heat before finishing the cooking process over indirect heat, preventing charring.
Sear and Slide
To achieve that desirable sear, cook your steak over direct heat for about 1-2 minutes on each side. Depending on the steak’s thickness, check for your desired doneness. If it hasn’t reached the intended temperature, simply transfer it to the indirect heat to finish cooking.
For reference, the general doneness temperatures are: 120-125°F for rare, 130-135°F for medium-rare, 140-145°F for medium, 150-155°F for medium-well, and 160-175°F for well done.
Let Rest
Though it may be tempting to dig in right away, allowing your steak to rest is crucial. Let it sit uncovered or covered with foil for about 5-10 minutes. This resting period helps flavors to meld and moisture to be locked in.
For more cooking advice and recipes, visit Culinary.net. Photo courtesy of Getty Images